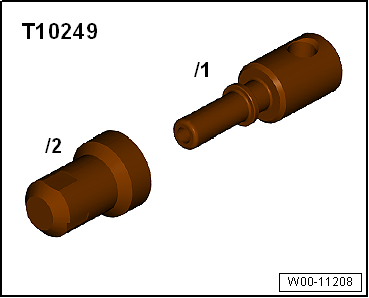
Using brake filling/bleeding equipment -VAS 5234- and sealing tool -T10249-, this page covers removing the LHD Volkswagen Golf Mk7 brake master cylinder — Note: record the radio code first if the vehicle has a coded radio.
| Special tools and workshop equipment
required |
|
|
|
| Brake filling and bleeding equipment -VAS 5234- |
|
|
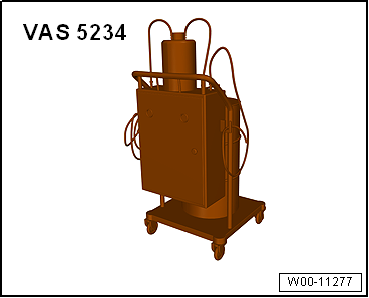
|
| Torque wrench -V.A.G 1331- |
|
|
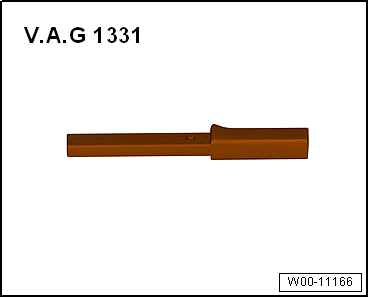
|
| – |
If vehicle has a coded radio, note radio code or, if
necessary, request it. |
| – |
Disconnect battery
→ Electrical system; Rep. gr.27 |
| – |
Remove battery
→ Electrical system; Rep. gr.27. |
|
|
|
| Vehicles with diesel engine: |
| – |
Remove engine cover panel. |
| – |
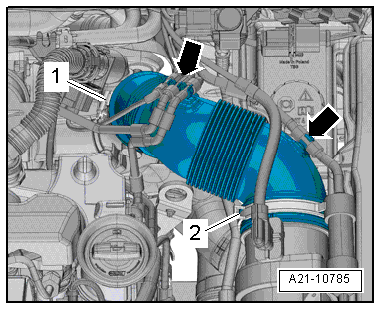
Loosen hose clip -1- and remove
air intake hose and air filter housing
→ Rep. gr.23. |
|
|
|
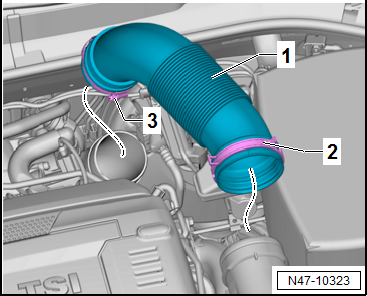
| – |
Loosen hose clips -2- and
-3-. |
| – |
Remove air intake hose -1- and
air filter housing
→ Rep. gr.24. |
|
|
|
| Continuation for all models: |
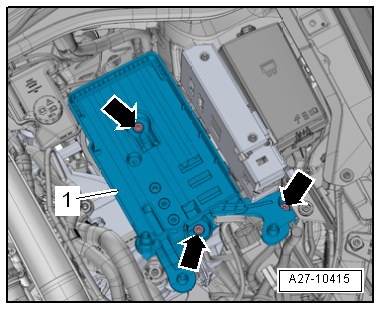
| – |
Remove battery tray
→ Electrical system; Rep. gr.27. |
| – |
Place sufficient lint-free cloths in area of engine and
gearbox. |
|
|
|
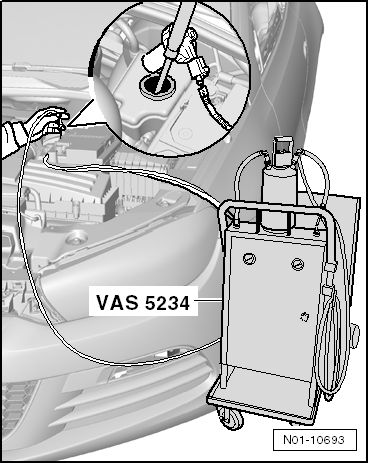
| – |
Draw off as much brake fluid as possible from brake fluid
reservoir using brake filling and bleeding equipment -VAS 5234-. |
|
|
|
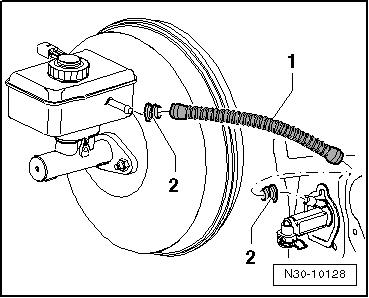
| Vehicles with manual gearbox: |
| – |
Pull off supply hose -1- for
clutch master cylinder, seal it using sealing tool -T10249- and
tie it up, or clamp off supply hose -1-
for clutch master cylinder using commercially available tool,
e.g. Hazet 4590, and pull it off. |
|
|
|
| Continuation for all models: |
| – |
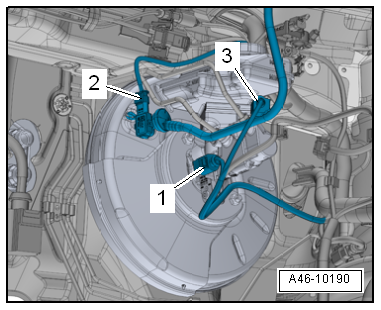
Disconnect connector from brake fluid level warning contact
-F34--3-, from vacuum sender -G608--2-
(if fitted) and from brake light switch -F--1-. |
|
|
|
| – |
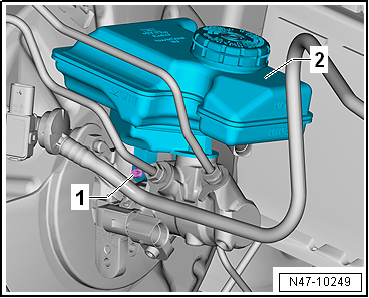
Unscrew Torx bolt -1- and pull
brake fluid reservoir -2- out of
sealing plugs. |
|
|
|
| – |
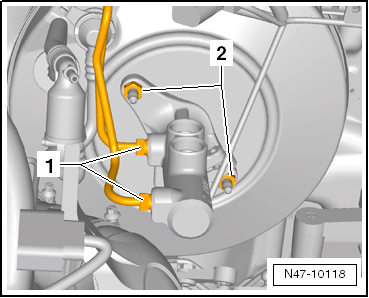
Unscrew brake lines -1- from
brake master cylinder, and seal brake lines with plugs from
repair kit with part no. 1H0 698 311 A. |
| – |
Unscrew nuts -2- from brake
master cylinder. |
| – |
Remove heat shield (if installed). |
| – |
Carefully take brake master cylinder out of brake servo. |
| – |
Unscrew brake light switch -F- from brake master cylinder. |
| Install in reverse order of removal, observing the
following: |
| – |
When assembling brake master cylinder with brake servo, make
sure plunger rod is properly positioned in brake master
cylinder. |
| Seals must be located in supply hose for clutch master
cylinder. |
| – |
Bleed brake system
→ Chapter. |
| → Chapter „Assembly overview - brake servo/brake master
cylinder, LHD vehicles“ |
|
|
|
Questions & answers
Removing and installing brake master cylinder, LHD vehicles — Volkswagen Golf Mk7
How do I remove the Golf Mk7 brake master cylinder (LHD)?
Disconnect brake lines from the cylinder (cap all openings), unbolt from the servo and remove. Bleed the entire system after refitting.
Note
If there are problems with the brake servo, first check the
brake servo vacuum system
→ Chapter.
...
Note
If there are problems with the brake servo, first check the
brake servo vacuum system
→ Chapter.
Special tools a ...

 Removing and installing brake servo for vehicles with 1.2 l and 1.4 l petrol
engines
Removing and installing brake servo for vehicles with 1.2 l and 1.4 l petrol
engines Removing and installing brake master cylinder, RHD vehicles