| Special tools and workshop equipment
required |
|
|
|
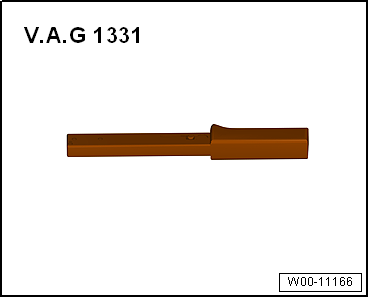
| Torque wrench -V.A.G 1331- |
| – |
Remove spring
→ Chapter. |
|
|
|
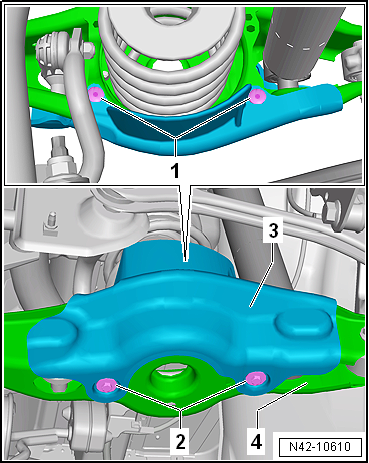
| Vehicles with stone guard |
| – |
Remove spreader rivet -1-. |
| – |
Unscrew bolts -2- for stone
deflector -3-. |
| Continuation for all vehicles |
|
|
|
| – |
Unscrew nuts -1- and
-3-, and pull out bolt
-4-. |
| – |
Pull coupling rod -2- out of
anti-roll bar and trailing arm. |
| Install in reverse order of removal, observing the
following: |
|
|
|
| – |
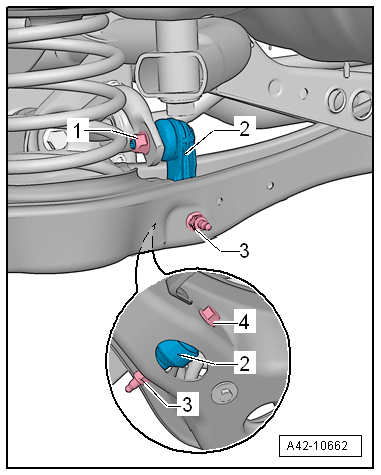
Insert coupling rod -2-, fit
nuts -1- and
-3- and tighten in unladen position
→ Chapter. |
| – |
When tightening nut -1-,
counterhold at multi-point socket of bolt. |
| → Chapter „Assembly overview - anti-roll bar“ |
| → Chapter „Torque settings for wheel bolts“ |
|
|
|
Questions & answers
Removing and installing coupling rod — Volkswagen Golf Mk7
How do I remove the Golf Mk7 rear coupling rod?
Hold the ball pin with an Allen key, loosen the nut. Unbolt from the bar and the shock absorber/wheel bearing housing. Renew the self-locking nut.
Special tools and workshop equipment
required
Torque wrench -V.A.G 1331-
Re ...


