| Special tools and workshop equipment
required |
|
|
|
| |
|
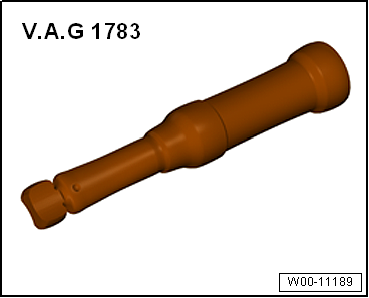
Torque wrench -V.A.G 1783- |
| – |
Remove rotary light switch -EX1-
→ Electrical system; Rep. gr.96. |
| – |
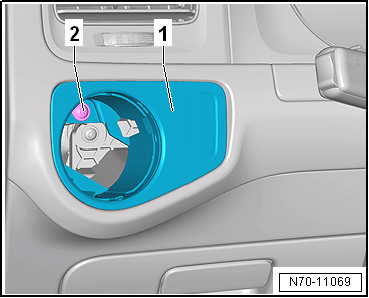
Carefully remove light switch trim -1-
towards rear from dash panel. |
 Note Note
| Before installing, check all fasteners for damage and
renew if necessary. |
| Installation is carried out in reverse order. |
| |
→ Chapter „Assembly overview - dash panel“ |
|
|
|
Questions & answers
Removing and installing light switch trim — Volkswagen Golf Mk7
How do I remove the Golf Mk7 light switch trim?
Remove the rotary light switch first, then unbolt the trim with torque wrench -V.A.G 1783- and remove.
Special tools and workshop equipment
required
Removal wedge -3409-
...
Special tools and workshop equipment
required
Removal wedge -3409
...


