 Note Note
| Removal and installation is described for the centre console
trim in footwell on driver side. Follow same instructions for
the front passenger side as appropriate. |
| Special tools and workshop equipment
required |
|
|
|
|
|
|
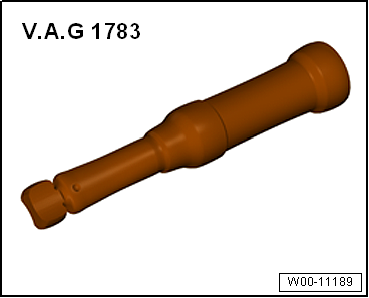
Torque wrench -V.A.G 1783- |
| – |
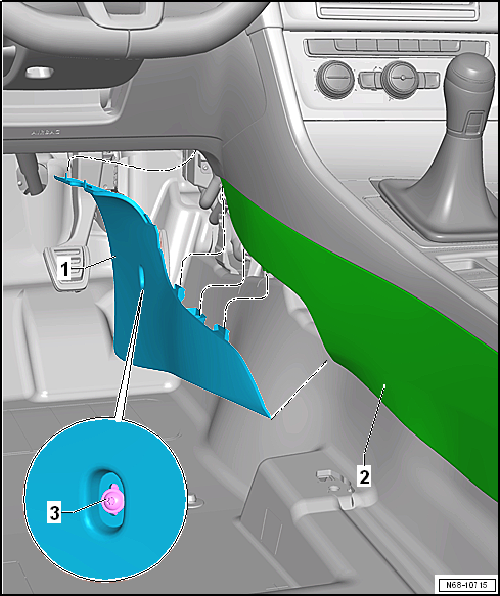
Pull centre console trim in footwell -1-
downwards out of mountings in centre console -2-
and remove it. |
Note
| Before installing, check all fasteners for damage and renew
if necessary. |
| Installation is carried out in reverse order. |
| |
→ Chapter „Assembly overview - centre console“ |
|
|
|
Questions & answers
Removing and installing centre console trim in footwell — Volkswagen Golf Mk7
How do I remove the Golf Mk7 centre console footwell trim?
Driver side described; passenger is similar. Unclip and pull the trim out from between the console and footwell panel.
Special tools and workshop equipment
required
Removing
–
Move front seat ...
Removing
–
Starting at bottom, unclip trim for operating and display
unit -1- from operating and display
unit -2- and remove it.
...

 Removing and installing rear centre console trim
 Removing and installing trim for operating and display unit