
Volkswagen Golf Mk7 Service & Repair Manual: Moving to and back from service position
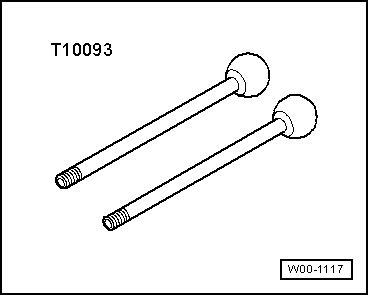
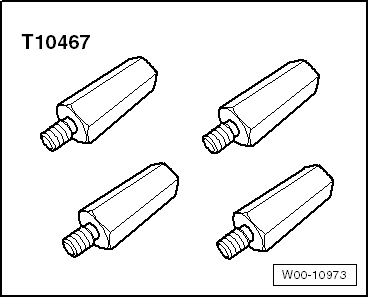
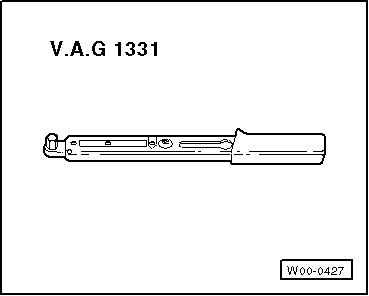
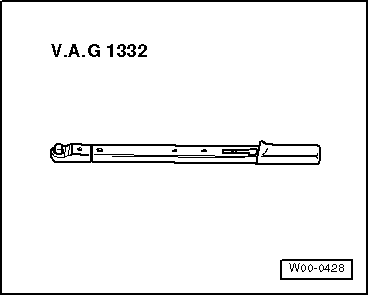
This page covers moving the Volkswagen Golf Mk7 lock carrier to its service position for access to components behind it, using guide pins -T10093-, adapter -T10467- and torque wrenches -V.A.G 1331-/-V.A.G 1332- — and repeats the key safety note that the lock carrier must not be repaired in this position.
|
|
|
|
|
|
|
|
|
|
 Note
Note
- The lock carrier is a safety-relevant component. The lock carrier must not be repaired for this reason
- In the event of damage, renew lock carrier.
- For vehicles with adaptive cruise control unit -J428-, the adaptive cruise control unit -J428- must be adjusted anew, whenever the lock carrier has been removed, installed or replaced.
- General information and work instructions for the adaptive cruise control unit -J428- can be found in → Electrical system; Rep. gr.27
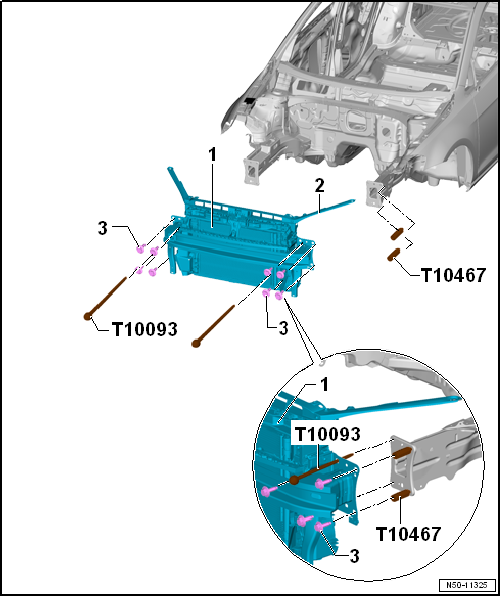
- Remove front bumper cover → Chapter
- Remove headlights → Electrical system; Rep. gr.94.
- Remove cable on mounting bracket of electrically operated lid → Chapter.
- Unhook filler neck for washer fluid reservoir on carrier -2- → Electrical system; Rep. gr.92.
- Only remove one bolt -3- on left and right side of each longitudinal member.
- Screw in special tool guide pins -T10093- to left and right longitudinal members where the bolts were previously located.
- Remove remaining bolts -3- on left and right side of longitudinal members
- The lock carrier with add-on parts -1- can be pulled forwards about 10 cm on the special tool guide pins -T 10093-. When doing this, be careful with the electrical wires/cables leading to lock carrier and, if necessary, detach connectors.
- Install special tool adapter -10467- (2 on each side) on left and right between bumper carrier and longitudinal member.
|
| – | Remove special tool adapter -T10467- on left and right from between bumper carrier and longitudinal member. |
| – | Push lock carrier together with add-on parts -1- on the guide pins -T10093- and onto the longitudinal member. |
| – | Place bolts -3- on left and right. |
| – | Unscrew guide pins -T10093- on left and right. |
| – | Align lock carrier together with add-on parts -1- to longitudinal members and between wings → Rep. gr.00. |
Note
- Always fit lock carrier on the bolting points at the foremost position in the elongated hole. Only then can the lock carrier move in a crash situation.
- On vehicles equipped with adaptive cruise control unit -J428-, the adaptive cruise control unit -J428- must be readjusted whenever the lock carrier has been removed, installed or renewed.
- General information and work instructions for the adaptive cruise control unit -J428- can be found in → Electrical system; Rep. gr.27
| Further installation is carried out in reverse order of removal. When proceeding, observe the following: |
Note
- Make sure that the charge air cooler pressure hoses are properly refitted
- Hoses and lines must not be pinched
| – | Adjust headlights → Electrical system; Rep. gr.94. |
Specified torques
Lock carrier → Chapter „Assembly overview - lock carrier“
Questions & answers
Moving to and back from service position — Volkswagen Golf Mk7
What tools are needed to move the Golf Mk7 lock carrier to service position?
Guide pins -T10093-, adapter -T10467-, and torque wrenches -V.A.G 1331- and -V.A.G 1332-.
What can I access with the Golf Mk7 lock carrier in service position?
Components behind the front end: alternator, water pump, AC compressor, timing belt/chain area, and ancillary belt routing — without fully removing the lock carrier.
Can the Golf Mk7 lock carrier be repaired while in service position?
No. The manual states the lock carrier must not be repaired while in service position. It must be either fully installed or fully removed for any structural repair.

